

Maintaining the cleanliness of your wall charger is not just about aesthetics; it's also crucial for its functionality and longevity. As a leading wall charger supplier, we understand the importance of keeping your chargers in top - notch condition. In this blog, we'll guide you through the process of cleaning a wall charger step by step.
Understanding Why Cleaning is Necessary
Over time, wall chargers can accumulate dust, dirt, and even grime. This build - up can affect the charger's performance. For instance, dust can clog the ventilation holes, causing the charger to overheat. Dirt on the charging ports can lead to poor connections, resulting in slower charging speeds or intermittent charging. Moreover, a dirty charger can be a breeding ground for bacteria, which is a health concern, especially if you're sharing the charger.
Pre - Cleaning Precautions
Before you start cleaning your wall charger, there are a few safety precautions you should take:
- Unplug the charger: This is the most important step. Never attempt to clean the charger while it's plugged in. This can expose you to the risk of electric shock, which can be extremely dangerous.
- Let it cool down: If the charger has been in use, it may be hot. Wait for it to cool down completely before cleaning to avoid burns.
Tools You'll Need
To clean your wall charger effectively, you'll need the following tools:
- Soft, lint - free cloth: This is ideal for wiping the exterior of the charger. Microfiber cloths work great as they are gentle on the surface and won't leave behind lint.
- Cotton swabs: These are useful for getting into small crevices, such as the charging ports and ventilation holes.
- Isopropyl alcohol: A solution of 70% isopropyl alcohol is recommended. It can help dissolve dirt and disinfect the charger. However, use it sparingly.
Cleaning the Exterior
The first step in cleaning your wall charger is to clean the exterior. Here's how you can do it:
- Wipe with a dry cloth: Use a dry, soft cloth to remove any loose dust and debris from the charger's surface. Gently wipe all around the charger, including the sides, top, and bottom.
- Dampen the cloth: If there are stubborn stains or marks, dampen the cloth with a small amount of water. Make sure the cloth is only slightly damp, not wet. Wiping the charger with a wet cloth can cause water to seep into the charger and damage the internal components.
- Use isopropyl alcohol for tough stains: For really tough stains, you can dampen a corner of the cloth with a small amount of isopropyl alcohol. Gently rub the stained area. Be careful not to get any alcohol near the charging ports or openings.
Cleaning the Charging Ports
The charging ports are a critical part of the charger and need to be kept clean for proper charging. Here's how to clean them:
- Inspect the ports: First, use a magnifying glass if necessary to inspect the charging ports for any visible debris such as dust, lint, or foreign objects.
- Use a cotton swab: Moisten a cotton swab with a small amount of isopropyl alcohol. Gently insert the cotton swab into the charging port and carefully rotate it to remove any dirt. Do not force the swab too hard as this can damage the port.
- Blow out any remaining debris: After using the cotton swab, you can use a can of compressed air to blow out any remaining debris from the port. Hold the can upright and give short, sharp bursts of air.
Cleaning the Ventilation Holes
Many chargers have ventilation holes to prevent overheating. These holes can get clogged with dust, reducing the charger's efficiency.
- Use a cotton swab: Similar to cleaning the charging ports, moisten a cotton swab with a small amount of isopropyl alcohol. Gently insert the swab into the ventilation holes to clean out any dust.
- Compressed air: Use compressed air to blow out any remaining dust from the ventilation holes. This helps to ensure proper air circulation within the charger.
Drying the Charger
After cleaning, it's important to dry the charger thoroughly.
- Pat dry: Use a dry, soft cloth to pat the charger dry. Make sure all the moisture is removed from the surface, charging ports, and ventilation holes.
- Air dry: Let the charger air dry for at least an hour before plugging it back in. This ensures that there is no residual moisture that could cause damage.
Tips for Regular Maintenance
To keep your wall charger clean and in good working condition:
- Keep it in a clean environment: Avoid placing the charger in dirty or dusty areas. Use a charger case or pouch to protect it.
- Regular inspections: Periodically inspect the charger for any signs of damage or excessive dirt.
- Avoid over - usage: Overheating can cause damage to the charger. Do not leave the charger plugged in for extended periods when not in use.
Our Wall Charger Products
At our company, we offer a wide range of high - quality wall chargers. Our 65W Single USB - C GaN Fast Wall Charger is a great choice for fast charging your devices. It uses the latest GaN technology, which is more efficient and generates less heat.
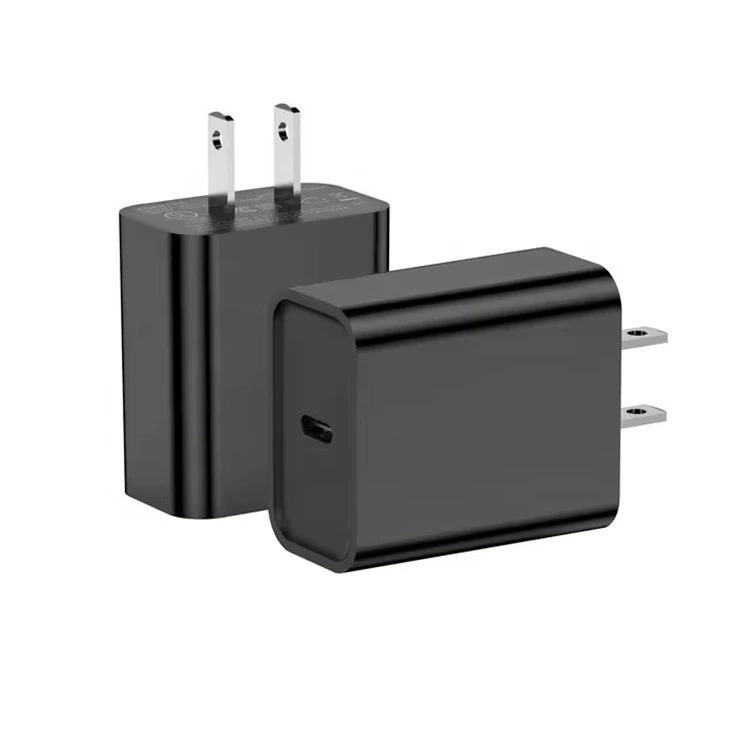

If you're in the US, our PD Fast Charging Power Adapter for US is an excellent option. It provides stable and fast charging for your devices.
For those who need a versatile charger, our GaN Charger USB C is a great solution. It can charge multiple devices simultaneously with high - speed charging capabilities.
Contact Us for Purchase and Discussion
If you're interested in purchasing our wall chargers or have any questions regarding our products, we'd love to hear from you. Contact us to start the procurement discussion and find the best charging solutions for your needs.
References
- "Charger Maintenance Guide", Electronics Maintenance Journal, Volume 12, Issue 3.
- "The Importance of Keeping Chargers Clean", Technology Today Magazine, July - August 2023.